X-UAV 2m Talon from FPV Model
| |
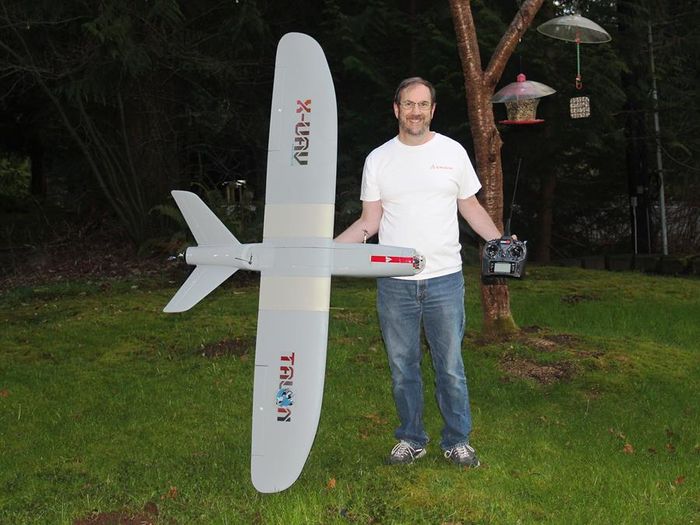
| Whoa! That's a lot of wing! |
Introduction
OK, needed another FPV plane and decided it should be big. I looked at the Sky Hunter and the FPV Models Talon which won the argument based on writes-ups on RCGroups, the fact it can carry an enormous payload and it just looks Drone-ish! This then are some pictures and descriptions of my build and some of the components I am starting with.
Airframe
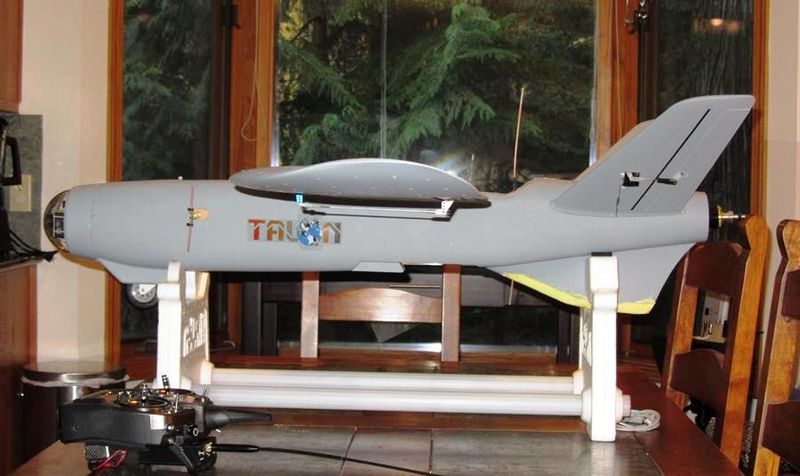
This airframe is a beast! Tons of room inside for all manner of components and the possibility of an actual usable camera dome. And, it looks cool!
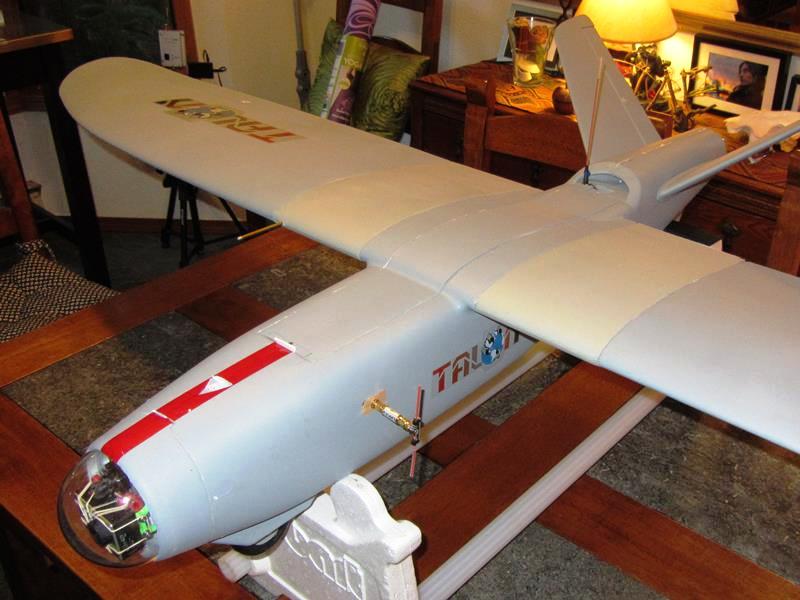
Buyers note - If you haven't bought one yet, don't buy the grey painted version. The paint finish is complete garbage. You can't put tape on it because the paint just falls off so very quickly, as you will see in some of the below pictures, the plane looks "used".
Aside from that, the kit is pretty well thought out and the parts were well packed and undamaged. In my case I also ordered wing extensions which you can see because they are painted (by me) using Testors flat military grey color.
|
| Maiden ready! |
|
| Drone-ish |
Gear and Specifications
- Flight control - EagleTree Vector Flight controller with EagleTree Airspeed module
- Control radio - Dragonlink LRS Radio
- Motor - Scorpion 3026-710 Motor
- ESC - Scorpion Commander 70A ESC
- Prop - Aeronaut 12x8 Power Prop
- Video Camera - GoPro3 or Mobius/C
- FPV Camera - SeaWolff Pixm FPV camera
- Video transmitter - RMRC 800mw Vtx
- Video downlink Antenna - Dragonlink 1.3Ghz Dipole antenna
- Control Antenna - Dragonlink 433Mhz Dipole antenna
- Aileron Servos - Hitec HS82mg
- Elevator Servos - Hitec HS65mg
- Battery - 4S/4,000mAh battery packs 2X or 4s/8,000mAh 2X
- Wingspan - 79"
- Length - 45"
- AUW 8,000mAh configuration- 3140g (6Lb,15oz)
- AUW 16,000mAh configuration- 3664g (8Lb,1oz)
- *AUW changes as I play around with different gimbal arrangements
Power!
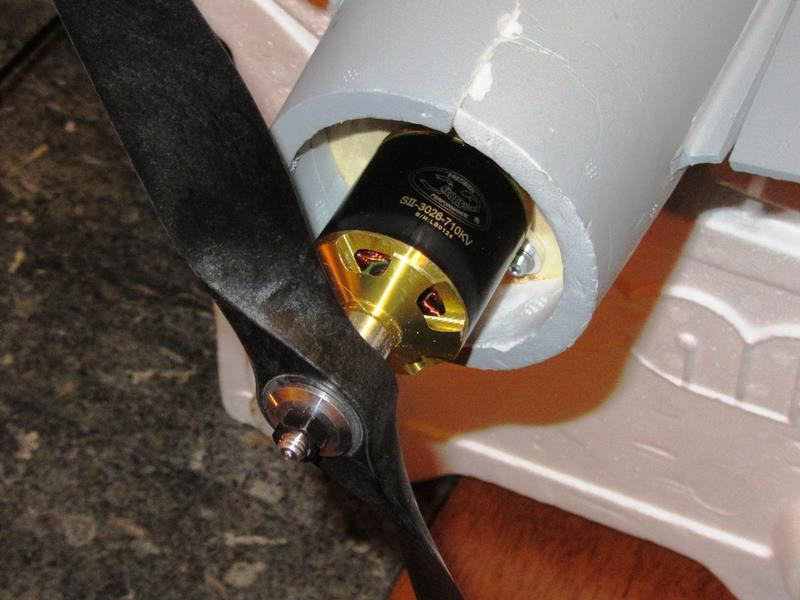
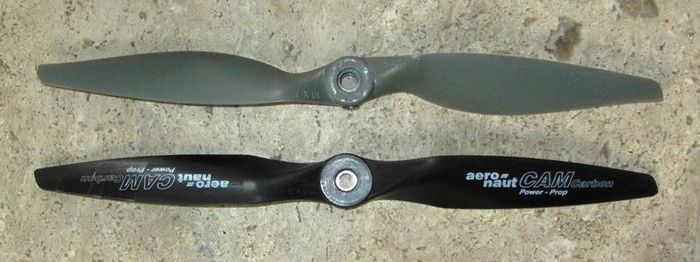
For power I am starting with a Scorpion SII-3026-710 motor and 70A Scorpion Commander ESC from another project. It is certainely more power than I need for this plane and I may move to a lighter Cobra 3515/18-740Kv motor at a later time. The prop is an Aeronaut 12x8 Power Prop which tests out a fair bit better than an equivalent APCe prop. I have also used Aeronaut Cam Carbon folders and I believe their Power Props are nearly equivalent in terms of efficiency. I will try a 12x10 and 13x8 at a later time.
|
| Scorpion Power |
|
| APCe and Aeronaut props |
Fuse Layout
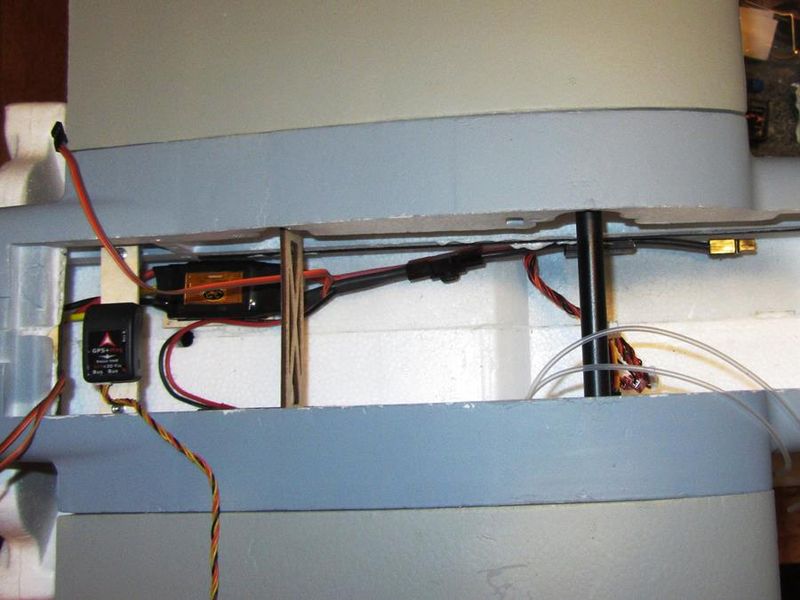
The fuse is, well, HUGE. The problem is with this much room, there are just too many choices on where to put everything. I started with the ESC and motor wiring. I ended up gluing down a plywood platform and am using 3M Duralock Extreme (velcro) to hold it in place. Because the ESC is so far from the motor and it is NEVER a good idea to extend battery wires, I made a 9" motor wire extension out of 14ga silicone battery wire. I used 3.5mm bullet connectors lubricated with Dr. Martys and covered with shrink tube so they don't pull apart.
|
| ESC Layout |
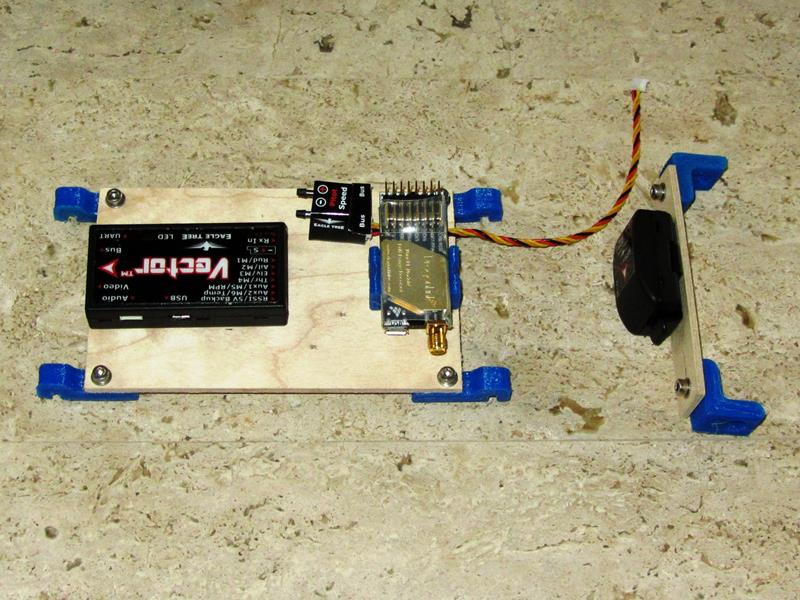
- For a tray, I used a piece of 3/32 plywood and 3D printed some mounts that clip into the two bulkhead pieces. I also printed a couple of mounts for a plywood plate to hold the GPS/Compass module.
|
| Components and tray layout with printed bits |

|
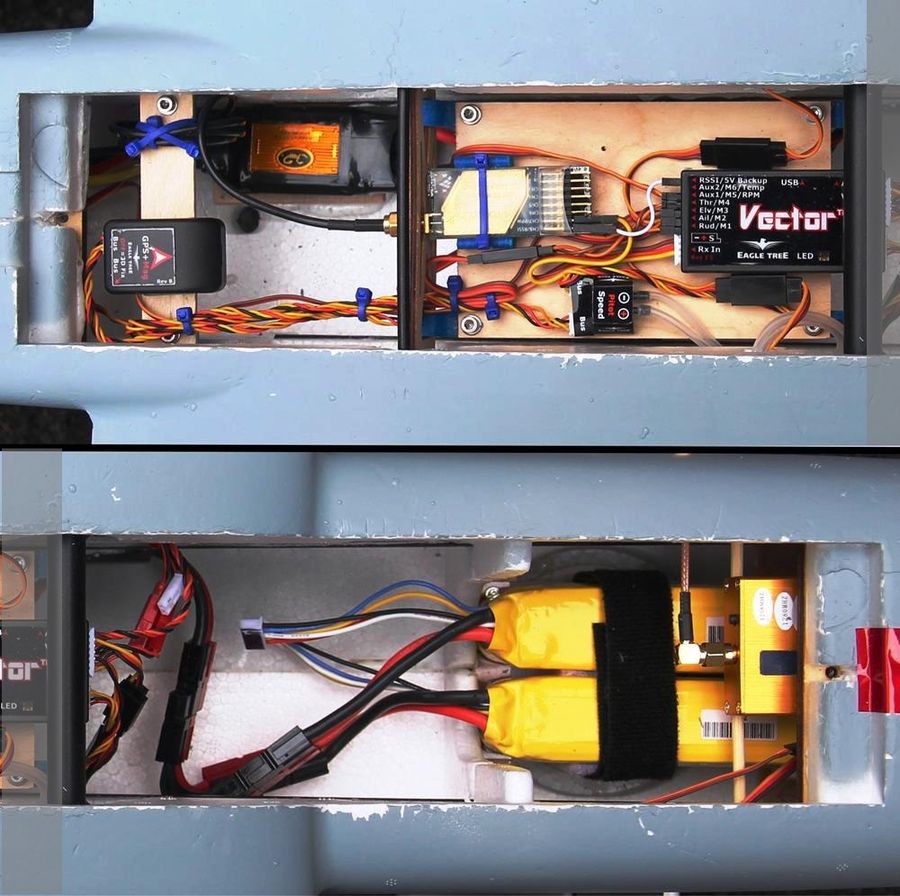
| Completed layout shown with two 4S/4000mAh Zippy Compact battery packs |
|
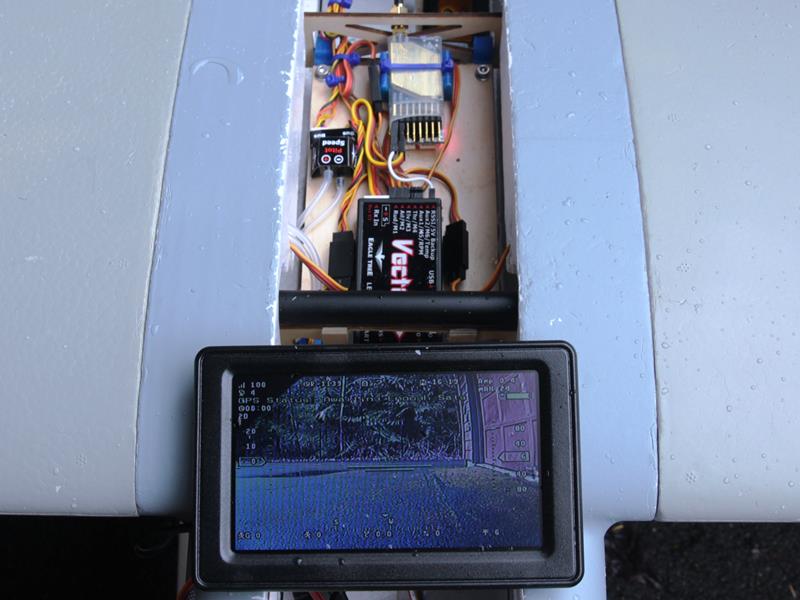
|
| Mini-monitor for Vector tuning |
- I mounted the Vtx on top of two 5mm wood dowels that sit on ledges on each side of the fuse. I fashioned a wood bracket which secures it to the dowels using 3M Extreme tape.
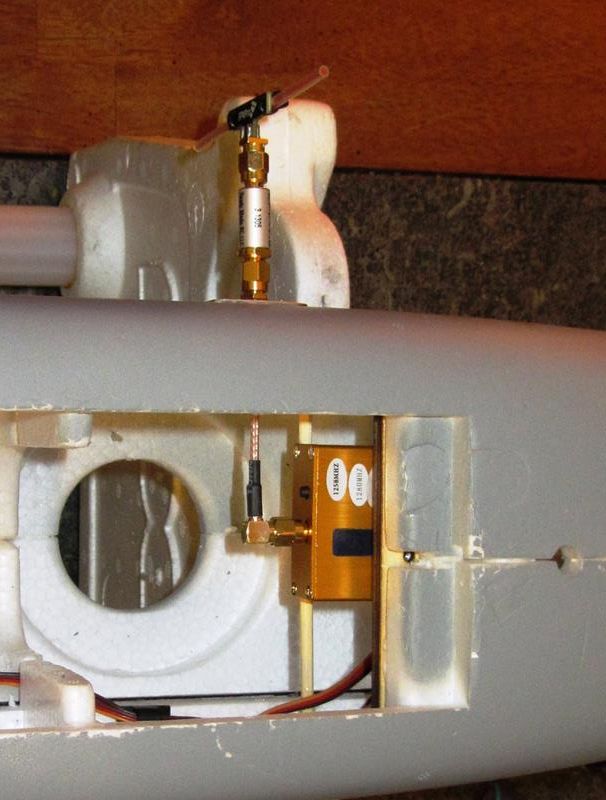
|
| RMRC Vtx mounted on dowels |
- The video Tx antenna, a DragonLink FPVPro 1.3Ghz dipole, is mounted to the side of the fuse on a plywood plate. While it is strong, I think it is probably a little too vulnerable and I will likely move it to the left wing in the near future.
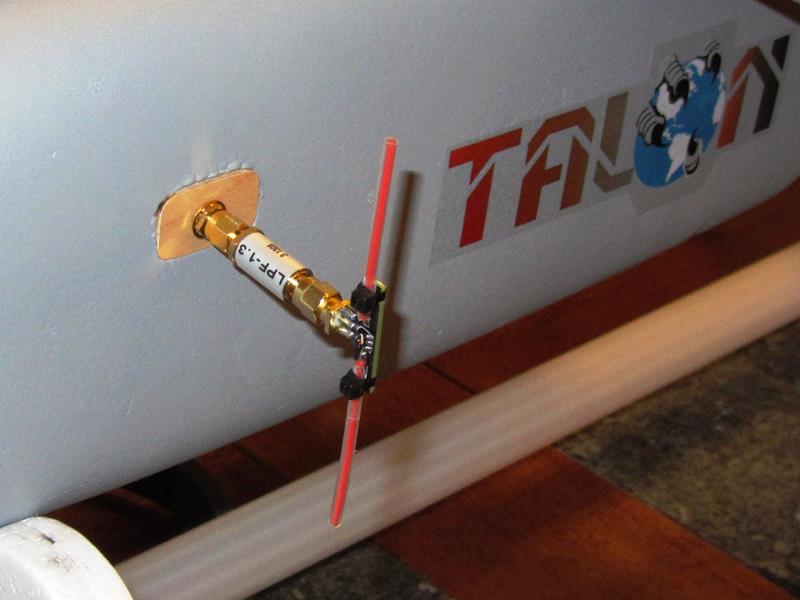
|
| DragonLink 1.3Ghz Dipole |
Control Surfaces
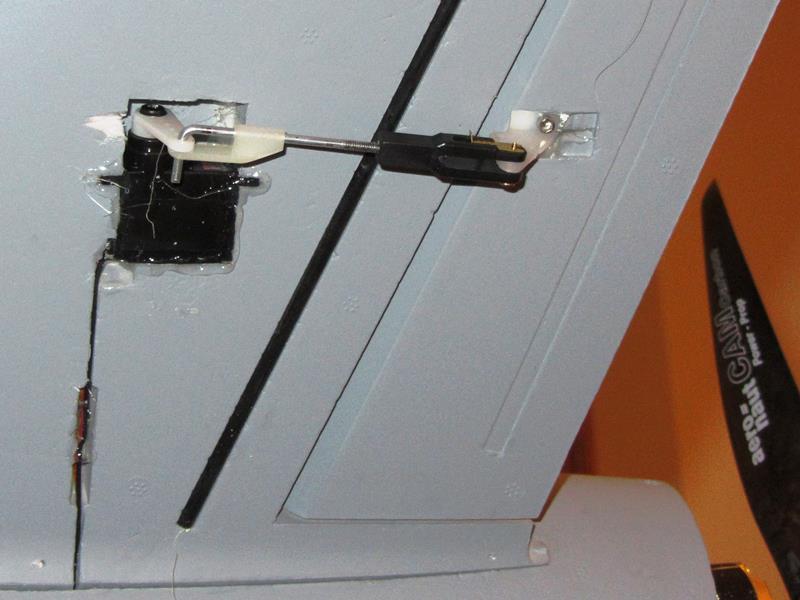
As with nearly all kits like this the hardware is pretty poor and mine came with 3 complete and different sets of control horns as well as 8 wood pieces that appear to be from a completely different kit. In any case I replaced all the control horns with Dubro pieces and made up a set of adjustable control rods using Dubro threaded 2-56 size parts.
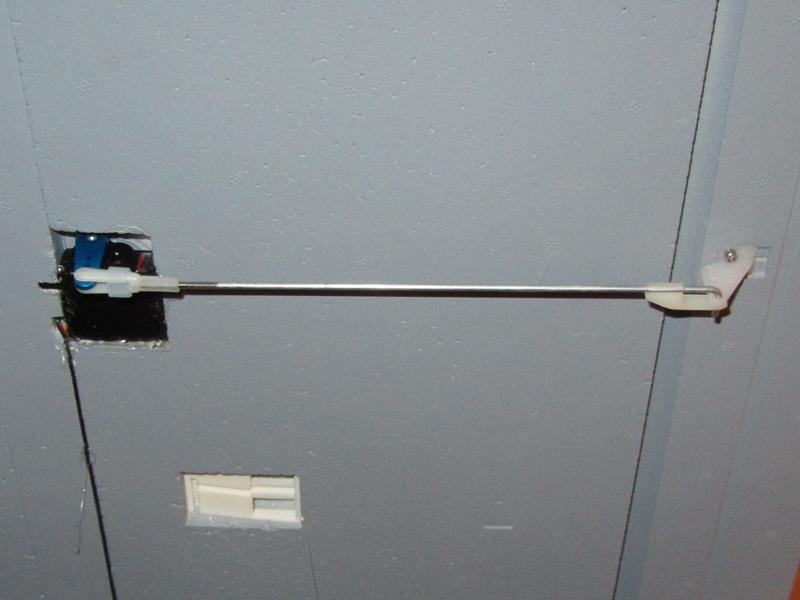
|
| Hitec HS82MG and standard Dubro linkage bits |
|
| Hitec HS65MG with locking Dubro clevis |
|
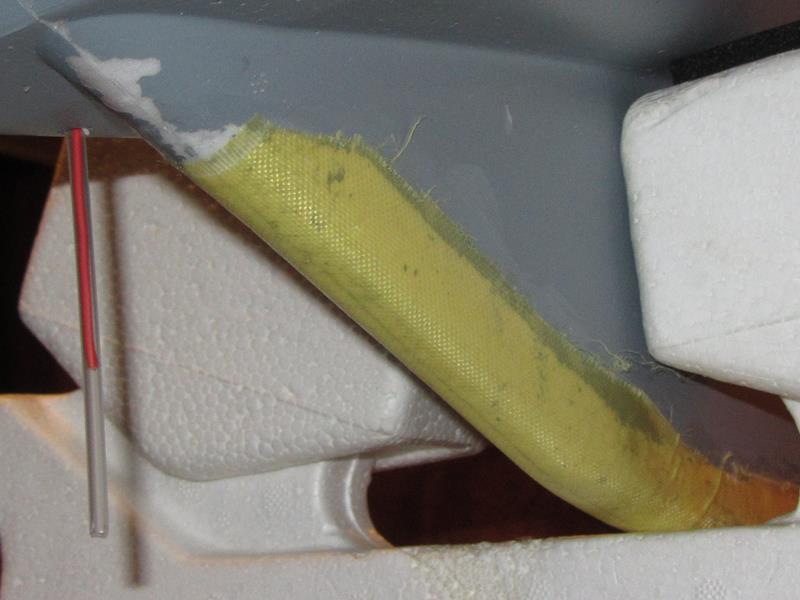
| 1.7 Oz Kevlar cloth wrap on skid |
Cameras
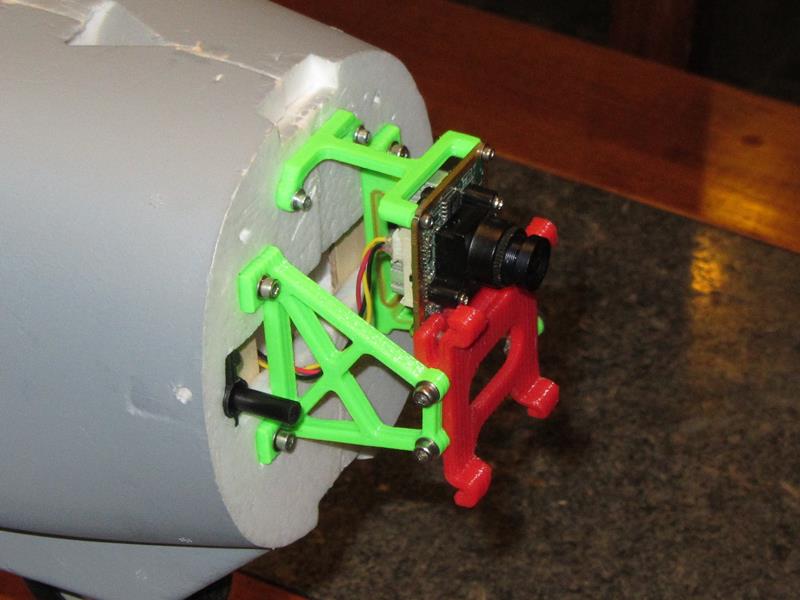
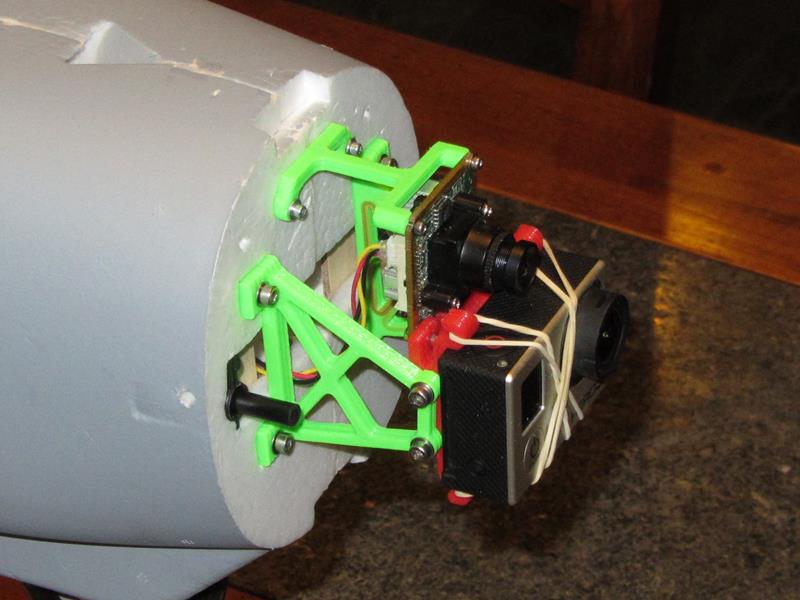
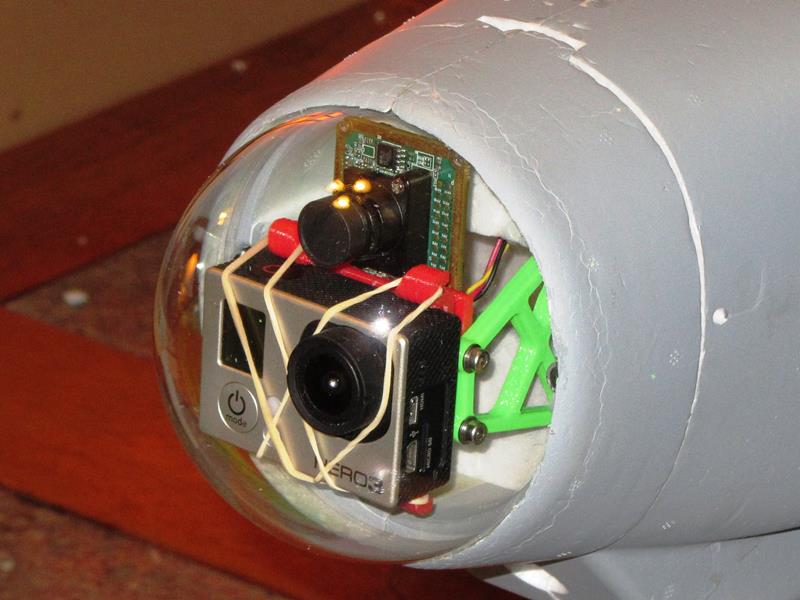
At first I was planning to build a brushless gimbal to fit in the dome but this was burning up too much time on the 3D printer. Instead, I just decided to print up some trusses and statically mount both the FPV camera and the GoPro for now. If everything works as expected I'll come back to the gimbal project.
|
| Printed camera mounts |
|
| With GoPro! |
|
| Dome fits over everything |
Maiden!
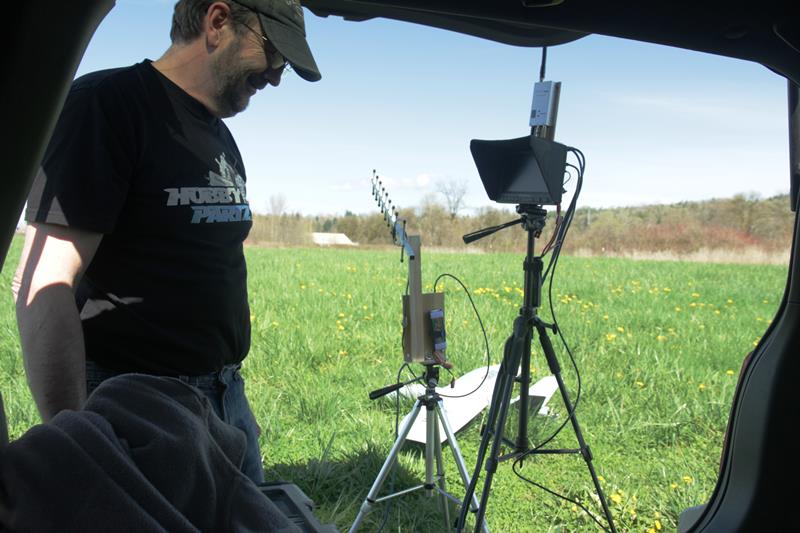
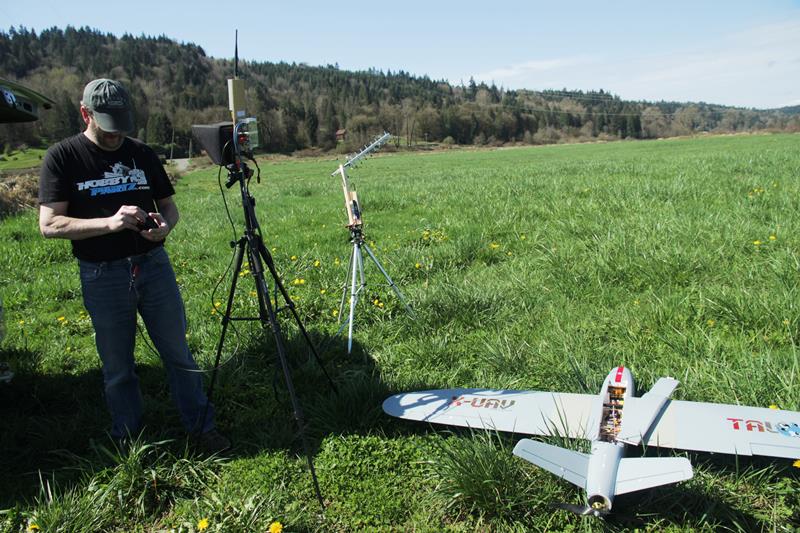
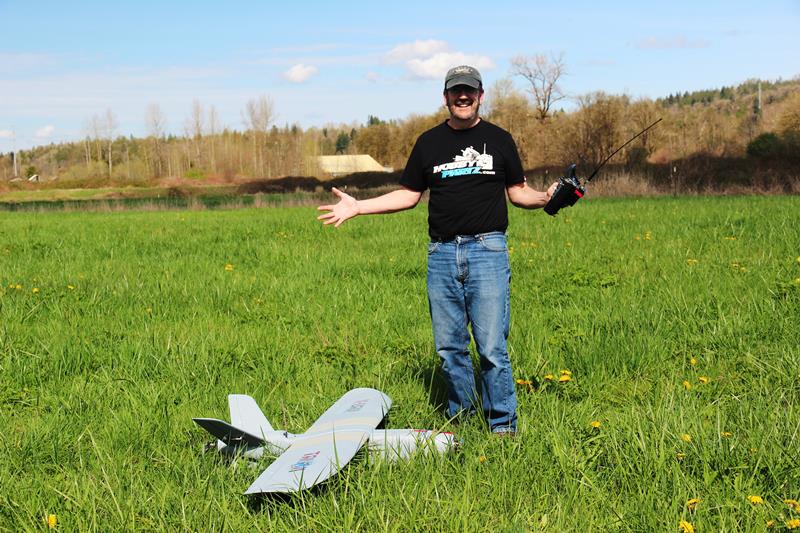
A few pics from the Maiden - March 26, 2015
|
| Setting up |
|
| Don't forget the DVR! |
|
| Success! |
See Also
Vendors to use for this project