Difference between revisions of "Mini Talon X-UAV from FPV Model"
(→Maiden) |
(→See Also) |
||
| Line 179: | Line 179: | ||
<br><br><br> | <br><br><br> | ||
[[Category:Contents]] | [[Category:Contents]] | ||
| − | |||
Revision as of 00:34, 5 February 2016
| |
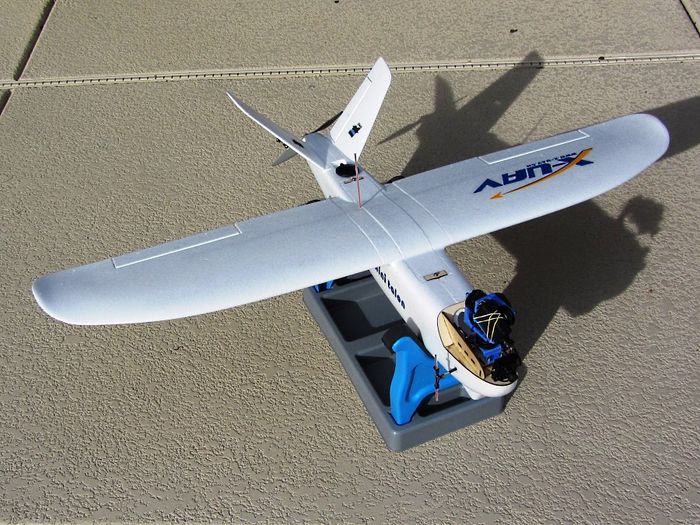
| Ready for fun! |
Introduction
Decided to try the Mini Talon as a way to get a medium range plane I could easily throw in my car. I looked at the Twin Star and the Floater Jet but finally decided on the Mini Talon because my large Talon is such a great flyer and it is relativley inexpensive.
Airframe and Controls
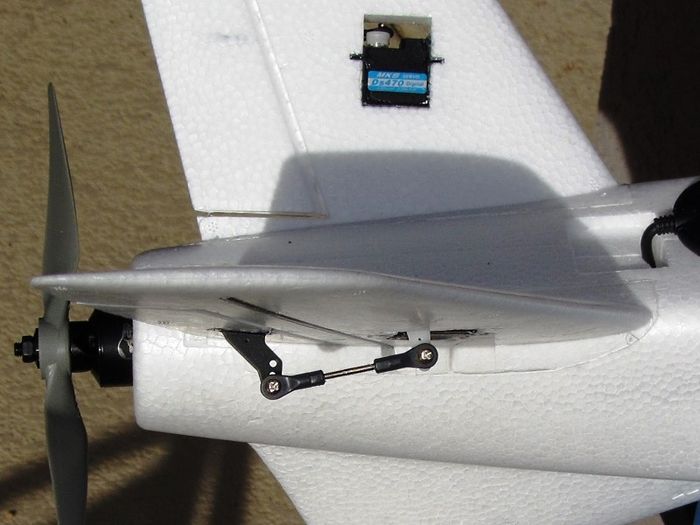
I did decide to try a set of Digital servos mainly because I had them already. The linkage was changed to small Dubro 2-56 ball-ends on the Elevons because of the high miss-allignment btween the controll surface and the sevo arm travel.
|
| Ball-end linkage on the elevons |
For this build, I decided to try an RTFQ ReadyToFly 2.8 flight controller to save a few bucks and check out if they are reliable and as easy to set-up as my APM. I am using APMPlane 3.3 firmware.
For an OSD, I am running an RTFQ MicroMinium OSD with my own character set.
For radio gear I am using DragonLink V2 with the MicroRX Copter receiver.
Specifications
Build date - January 2016
| Wingspan - 1,300mm (51in) | Wing Area - 30dm^2 (465sqin) |
| Length - 830mm (33in) | Wing Load - 66g/dm^2 (21oz/sqft) |
| Motor - Cobra 2221/16 - 940Kv | ESC - Cobra 33A |
| Battery - 8,000mAh MultiStar | Propeller - APCe 8 x 6 to Aeronaut 9.5 x 6 folder |
| *All Up Weight (no battery) - 1,254g (44oz) | *Weight with 8,000mAh pack - 1,897g (67oz) |
| *Weights shown are with a two axis gimbal |
Build/Layout
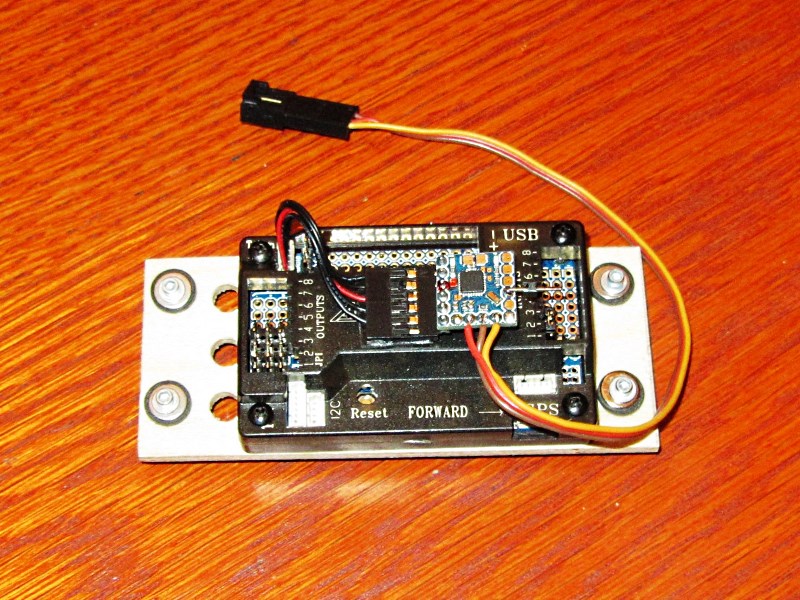
I won't spend anytime on pictures of assembling/gluing the foam bits together. I'll just show any mods and/or custom setups I did for this build. This starts with a simple layout with the Flight controller mounted on a plywood plate with rubber dampers attached between the wing support plates.
|
| Flight Controller mounted on plywood plate with Micro MinimOSD servo taped to the top of the case |

|
| Layout showing the Flight Controller, Micro MinimOSD, FPV power module and GPS |
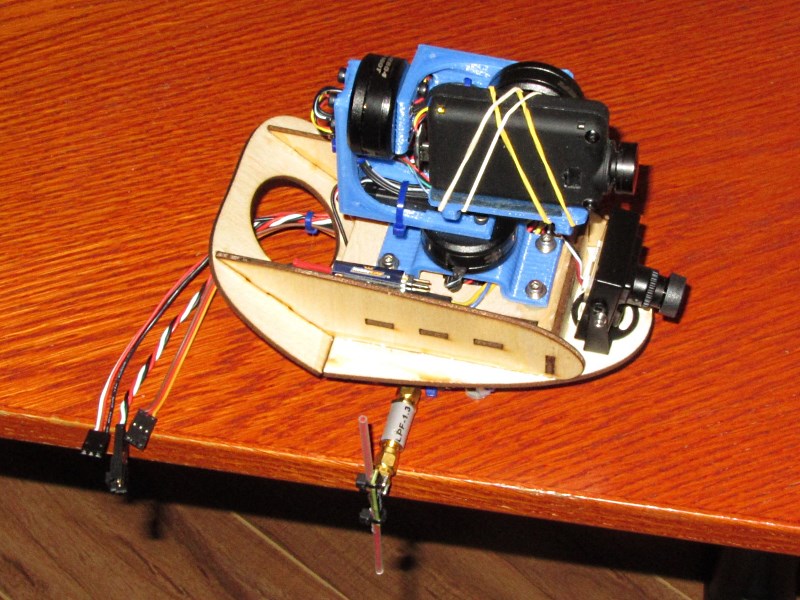
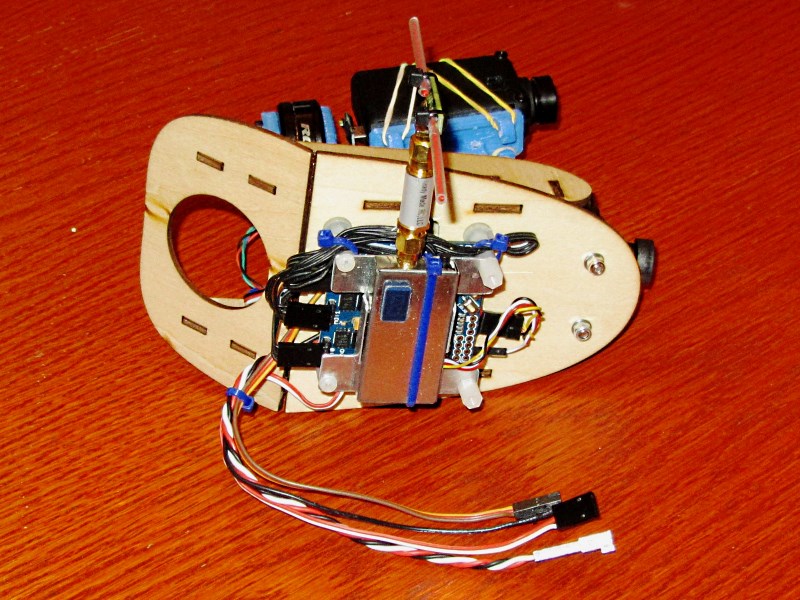
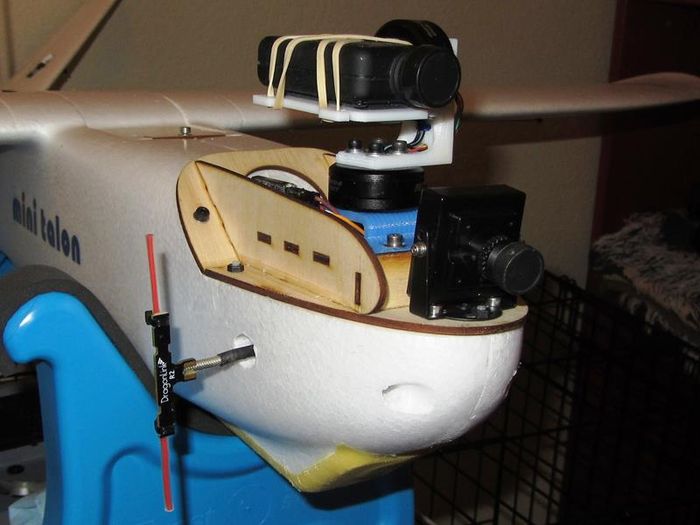
On the front I built an "FPV" module which includes the VTx, DL 1.3G Dipole antenna, a Storm32 brushless gimbal control board, an Effio camera, a two or three axis gimbal with Mobius camera and a two way camera switch.
|
| FPV module showing the DragonLink 1.3G Dipole antenna and a Low Pass filter which will not be used |
|
| FPV module - Bottom view with VTx aluminum shield and heatsink |
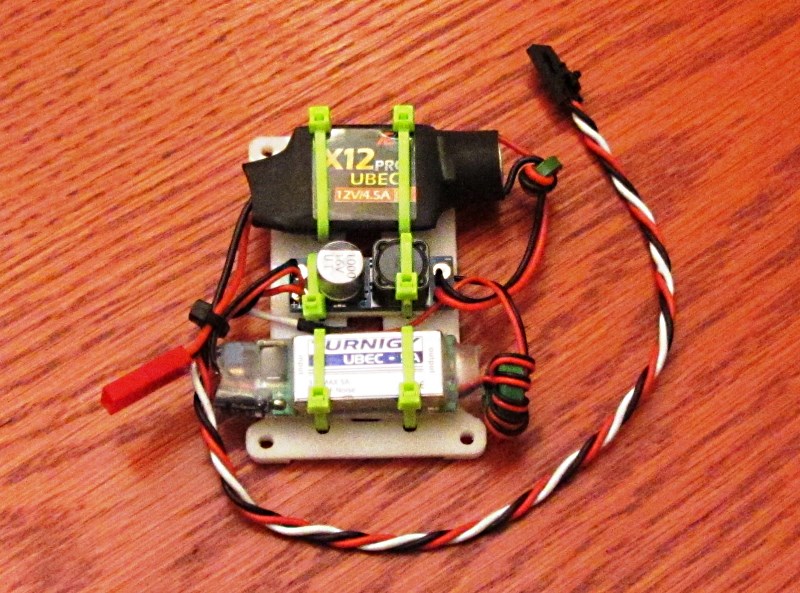
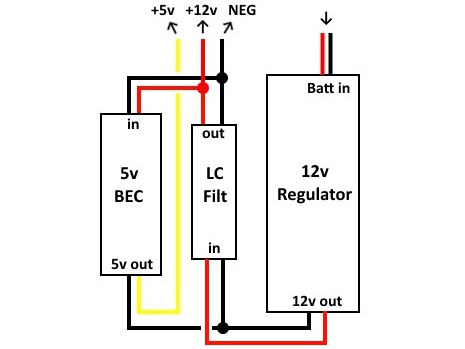
To power the FPV module I printed a mount plate for a 12v regulator, a 5v regulator and an RMRC LC power filter. All three components are mounted on foam tape with wire ties to hold them down.
|
| FPV Power Module |
|
| Power module schematic |
A Few Last Views
|
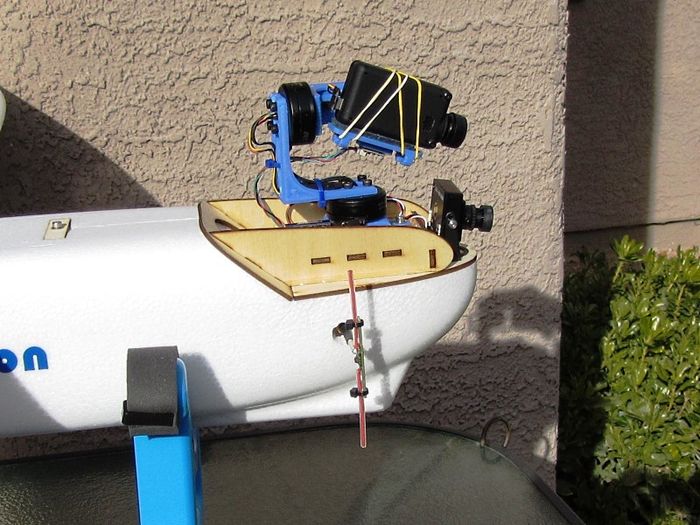
| Side view with VTx antenna |
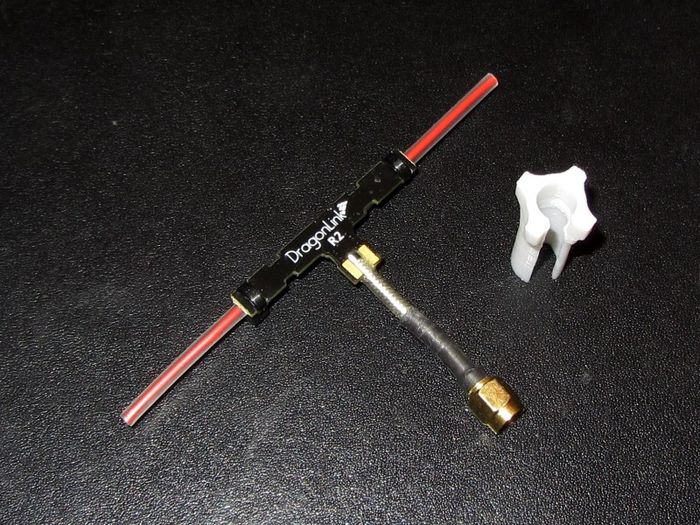
To install the VTx Dipole I had to design a simple 3D printed thumb wrench which would fit through the hole in the fuselage.
|
| DragonLink dipole and wrench |
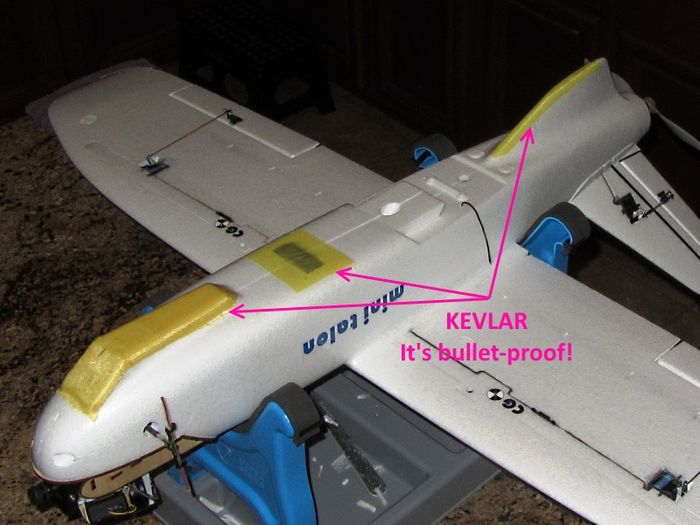
Using a process I detail in "How To - Create a Kevlar Skid Shield", I added 1.7oz Kevlar to the landing skid areas and over the battery strap.
|
| It's all about Kevlar! |
|
| Front view showing smaller 2 axis Gimbal and VTx cooling ports - Ready for Maiden! |
Maiden
When I get it done and written i will surely post it!
See Also
Vendors to use for this project
Comments? Questions?