Li-Ion 3S1P Welded Pack Build
© Mark Qvale - 10 May 2018
|
Introduction
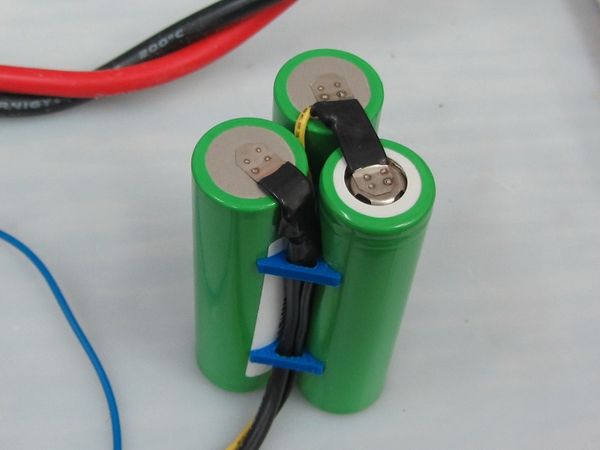
Poster "Mochanic" did an excellent job of detailing his DIY spot welder on RCGroups so I just had to give it a try! This page then shows my first attempt at a spot welded pack. You can see my write up on how I made my own version of the "Mochanic Spot Welder" here -
How To - Build a DIY Battery Pack Spot Welder
Parts for this 3S pack
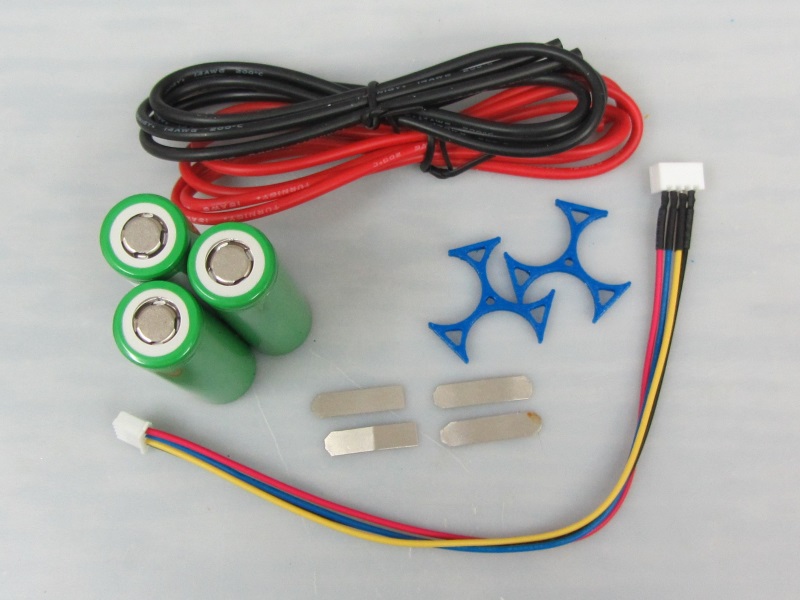
For this quick build I chose LG INR18650MJ1 3500mAh cells. Below are most of the other parts I used.
|
- 3x INR18650MJ1 Li-ion cells
- 1x Balance connector extension
- 4X Kastar nickel battery tabs
- 1x 14ga red silicone wire
- 1x 14ga black silicone wire
- 2x cell spacers
- 4x 8mm shrink tube, 12mm long
- 2x 100mm shrink tube, 75mm long
Assembly
|
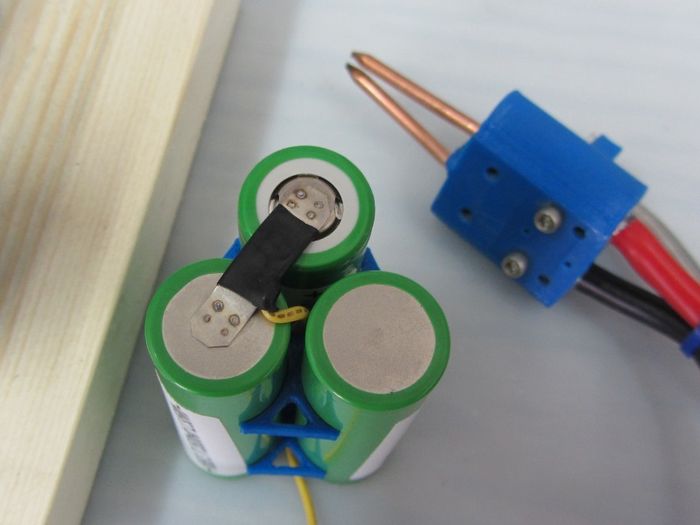
- 1. Start with the blue or yellow wire and route it through the center of the spacers (if used)
- 2. Solder it to the center of one of the nickel straps
- 3. Cover with a piece of the 8mm shrink tube
- 4. Spot weld the tab to the positive and negative of two cells
|
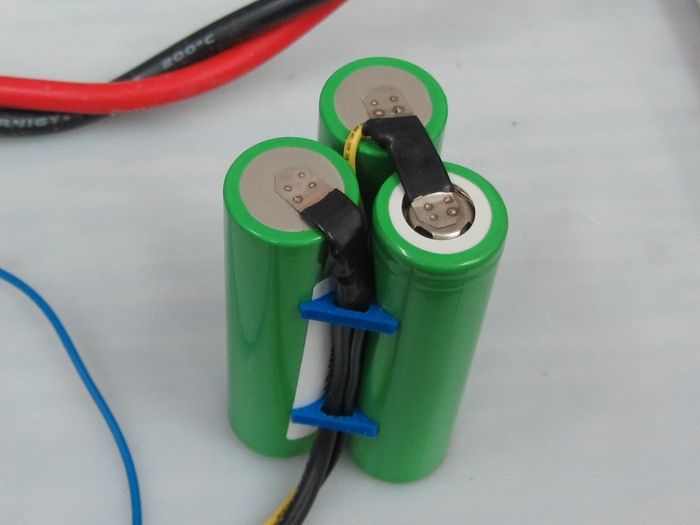
- 5. Cut the black balance wire to its proper length and route it through the cell spacers
- 6. Solder the black battery wire and black balance wire to another nickel tab
- 7. Cover with a piece of shrink tube
- 8. Thread the black battery cable throught the same holes as the black balance wire
- 9. Spot weld the tab to the remaining negative cell end
- 10. pull all wires tight
Continue on the other end of the pack making sure to bridge the correct pair of cells.
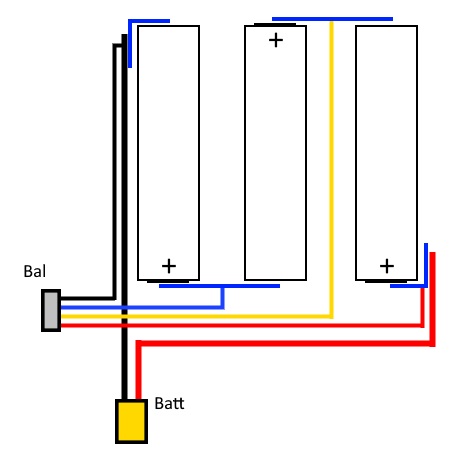
|
Test the balance plug for correct voltage.

|
Shrink one piece of the 100 shrink tube around the ends of the pack then shrink the second piece around the cells. Add your desired battery plug, charge and go fly!
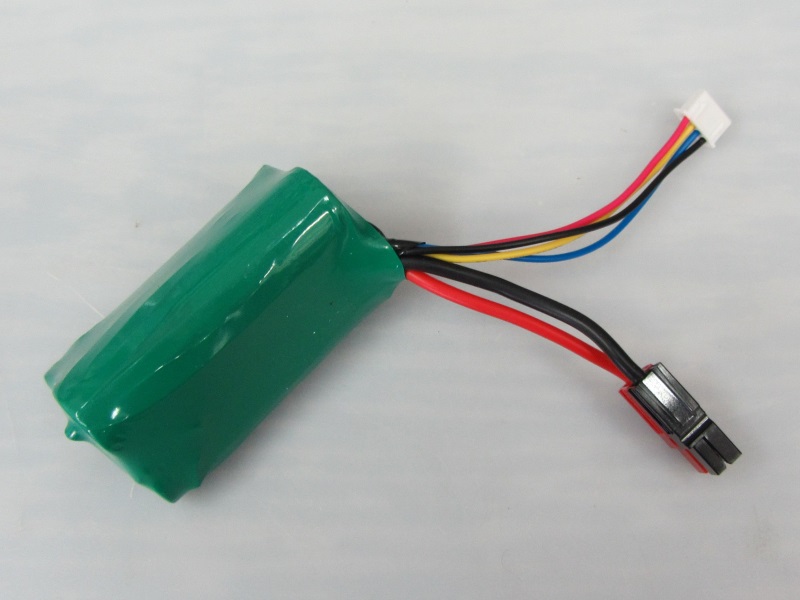
|
See Also
Comments? Questions?