Difference between revisions of "DragonLink MicroRX Saddle Mount"
(→Project Print Files) |
|||
| Line 1: | Line 1: | ||
| + | |||
| + | [[File:BTI.png|link=3D_Print|3D Print]]<br> | ||
| + | <i>September 2016</i><br> | ||
| + | {| cellspacing="1" cellpadding="1" width="95%" border="0" | ||
| + | |- | ||
| + | | align="left" valign="bottom" width="30%" | __TOC__ | ||
| + | | align="right" width="70%" | [[File:RXM04.jpg|600px]] | ||
| + | |- | ||
| + | | | ||
| + | | align="right" width="50%" | It's all about 3D | ||
| + | |} | ||
== A Simple Solution == | == A Simple Solution == | ||
Latest revision as of 23:32, 19 September 2016

| |
| It's all about 3D |
A Simple Solution
One thing that has always driven me crazy is the fact that radio receiver and ESC manufacturers never seem to add mount holes or tabs to their board components. This means we hobbyists have to figure out a way to mount them safely, securely and with adequate cooling.
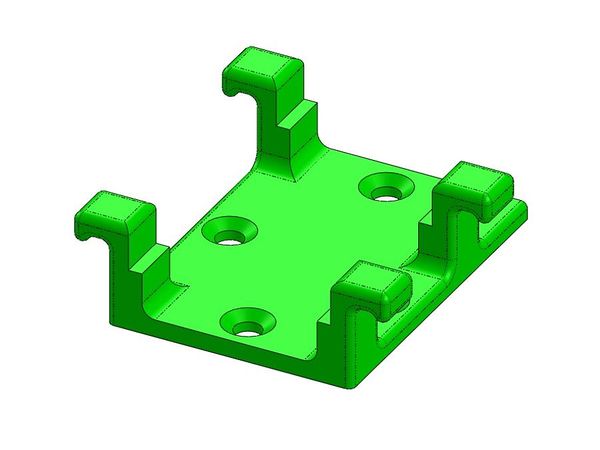
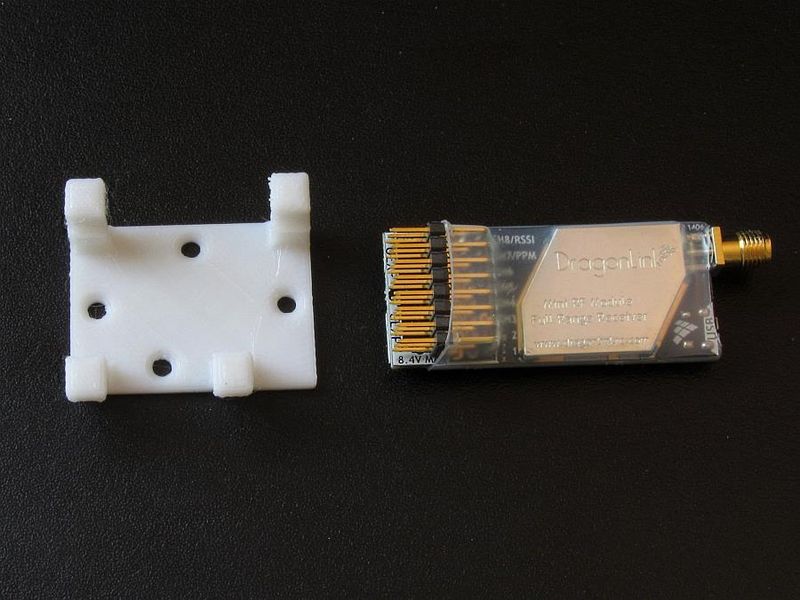
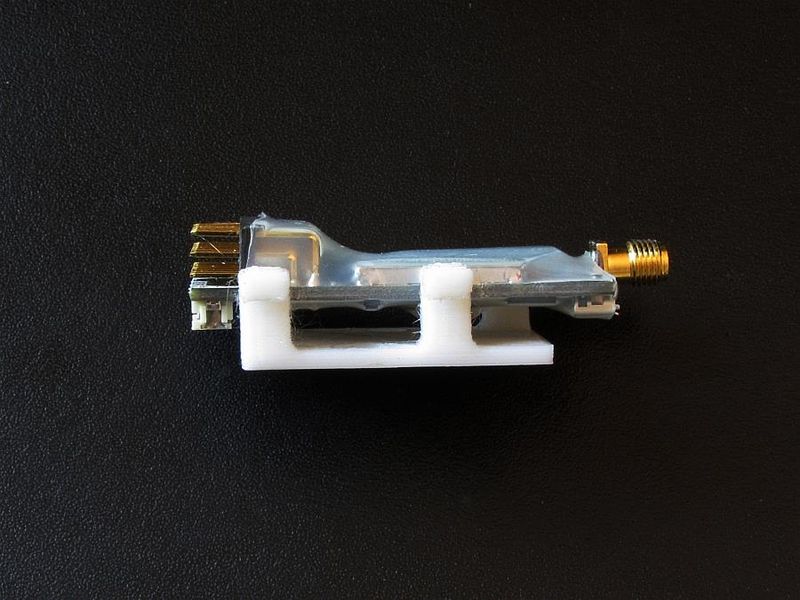
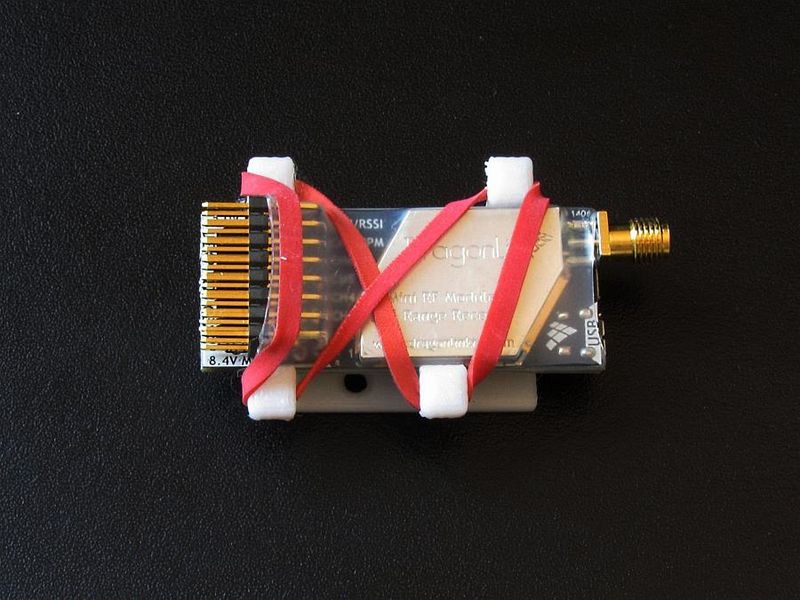
The DragonLink MicroRX is one such board component. It is an outstanding Long Range receiver but mounting it is rarely well done because of the irregular surfaces. This then is a simple 3D print to alleviate this problem. The receiver simply sits in a saddle with one or two small rubber bands to hold it securely and safely in place. The saddle can then be fastened to a flat clean surface with small flat head screws or your favorite servo tape product.

|
| Printed saddle mount with DragonLink RX |

|
| Side view showing clearance |

|
| Mounted with rubber band |
Project Print Files
Here is a link to the file package for this project:
DragonLink MicroRX Saddle Mount
See Also