Difference between revisions of "How To - Set-Up an LRS Relay"
From ItsQv
(Created page with "How-To<br> <i>January, 2016</i><br> <br> {| cellspacing="1" cellpadding="1" width="95%" border="0" |- | align="left" valign="bottom" width...") |
|||
| Line 5: | Line 5: | ||
|- | |- | ||
| align="left" valign="bottom" width="30%" | __TOC__ | | align="left" valign="bottom" width="30%" | __TOC__ | ||
| − | | align="right" width="70%" | [[File: | + | | align="right" width="70%" | [[File:TXR00.JPG|550px]] |
|- | |- | ||
| | | | ||
Revision as of 01:15, 14 May 2016

| |
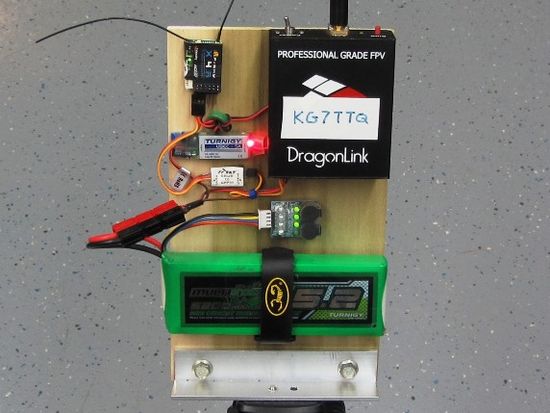
| Relay station! |
Introduction
Always liked the idea of being completely wireless on my ground station so I decided to try setting up a radio relay for my DragonLink LRS transmitter to my Taranis transmitter. The benifits of doing this are:
- Lighter transmitter
- Transmitter battery lasts longer
- No adverse range effect when you move the transmitter to different positions
- Ability to get maximum separation between LRS TX and video receivers
- Ability to sit in your nice air conditioned car while flying :)
Some of the potential drawbacks:
- Adds another system to take care of
- Adds an additional battery to charge and monitor
- Adds some delay to the control response
My Build
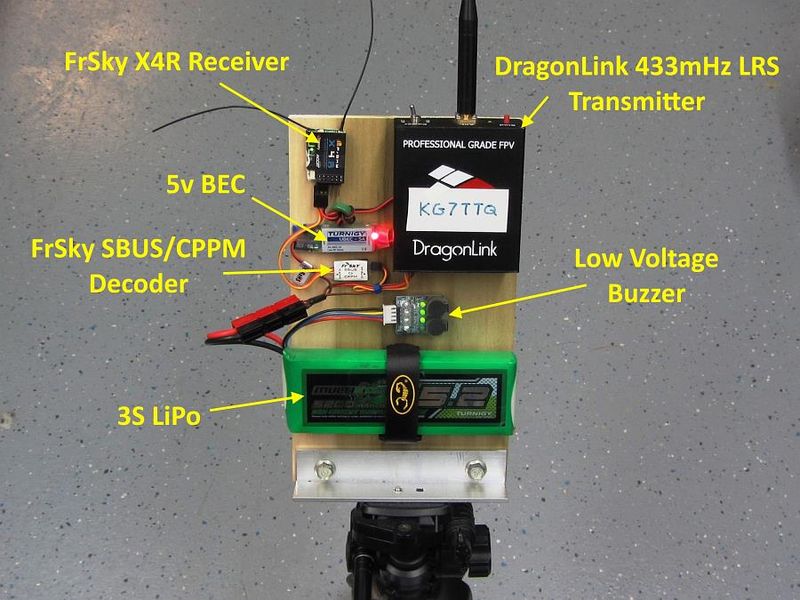
The components I had to buy and put together to set this up:
- FrSky X4R SBUS/CPPM receivers
- Frsky SBUD/CPPM Decoder
- 5v BEC
- 3S Lipo pack
- Light weight tripod
- Hardware bits to mount it all together

|
| LRS relay layout |
See Also
- TBA
Vendors used for this project
Comments? Questions?